As a photography enthusiast, have you ever found yourself stuck with shaky footage that ruins your shot?
You know how frustrating it is – the excitement of capturing something amazing, only to have it ruined by camera shake.
The problem isn’t just about having good gear; it’s also about knowing where to get started when looking for a camera stabilizer system. And even if you think they’re complicated or too expensive…
With these beginner-friendly camera stabilizer systems, anyone can capture smooth footage and elevate their photography game.
In this comprehensive guide, we’ll dive into the top-rated camera stabilization solutions – perfect for both beginners and professionals alike!
Finding Your Perfect Match – Camera Stabilizer Types for Beginners
Finding your perfect camera stabilizer match can be a daunting task, especially with so many options available. But don’t worry, you’re about to discover some top recommendations that will make your photography journey smoother.
When it comes to choosing the right camera stabilizer for beginners, there are a few things to consider. Firstly, what type of shots do you want to take? If you’re looking for smooth footage in hand-held or low-light situations, a gimbal would be an excellent choice. These nifty gadgets allow for precise control and can make even the shakiest of hands look steady.
On the other hand, if you’re focused on time-lapses or pans that need to be silky-smooth, a motorized head might be your best bet. These systems offer unparalleled stability and are perfect for creating professional-grade footage with minimal effort.
When it comes to choosing between these two options, consider what type of camera you’ll be using them with. Most gimbals are designed specifically for DSLRs or mirrorless cameras, so make sure you’ve got that covered before making a decision.
The best part about camera stabilizers is they’re relatively affordable and easy to set up. With practice and patience, even the most novice photographers can unlock seamless shots that will leave your audience in awe.
Balancing Act – How to Choose the Right Mount and Lens Combination
Get ready to unlock your photography’s full potential! If you’re tired of dealing with shaky footage and blurry images due to unstable mounts and lens combinations, this article will reveal top recommendations for beginner-friendly camera stabilizer systems that’ll simplify the process.
Many camera enthusiasts struggle with finding a balance between mounts and lenses when trying to capture smooth shots. This is because choosing the right mount can greatly impact image stability, as illustrated by using the Sony A7S III integrated NEX-FZ mount technology. However, be aware that this setup might require special lens designs to maintain optimal image quality.
When it comes to selecting a compatible lens for your camera system, consider two key factors: weight and size. Longer focal lengths with heavier lenses can expect up to 30% greater stress on the mount’s capacity due to their size and weight, making them better suited for pan-head tripods that handle larger loads but may require more manual adjustment.
To minimize focus shifting when panning or tilting, choose lenses specifically designed for stabilized mounts. However, these specialized lenses might come with a higher price tag and limited compatibility options. This is where fluid heads come in offering greater flexibility in terms of movement patterns but are typically lighter, making them suitable for smaller lenses.
When balancing your camera system’s weight capacity and lens selection, it’s essential to consider the type of mount you’re working with. Pan-head tripods can handle larger and heavier loads but may require more manual adjustment. Fluid heads offer greater flexibility in terms of movement patterns but are typically lighter, making them suitable for smaller lenses.
For instance, choosing lenses designed specifically for stabilized mounts or adapting your gear through adapters or mechanical couplers is crucial to eliminate camera shake and produce crisp images. A well-balanced combination will enable you to capture professional-grade images with ease, reducing the likelihood of blur caused by unstable mounts or incompatible lenses.
By carefully selecting your equipment combination and understanding the unique needs of each mount type, you can create stable footage for any type of photography. This knowledge will empower you to focus on capturing stunning images instead of struggling with equipment stability issues.
Level Up! Mastering Gimbal Techniques for Smooth Shots
 Unlocking Seamless Shots with Beginner-Friendly Camera Stabilizer Systems
For those new to gimbal technology, getting started can feel overwhelming. But fear not! We’ve rounded up top-recommended camera stabilizer systems that won’t break the bank or overwhelm your skill level.
DJI’s OsmiGrip is a fantastic starting point for beginners who want compact, easy-to-use design and compatibility with a wide range of cameras. It’s perfect for handheld shooting, making it an ideal choice for travel vloggers who need to capture smooth footage on-the-go. What sets DJI apart is its affordable price point and lightweight design.
The Zhiyun Crane 3 Gimbal offers another approachable option with its ergonomic design and intuitive controls. It’s a great choice for those who prefer a more hands-on experience when operating their gimbal, making it perfect for content creators who want to experiment with different shooting techniques. One notable feature is its adjustable grip, which allows users to customize the fit for their camera.
When using these systems, keep in mind:
Practice your balance: Don’t be afraid to tweak your setup until you find a comfortable feel. It’s all about finding that sweet spot where weight distribution works harmoniously with your camera. Experimenting with different angles and poses will help you master the art of balancing shots for smooth, cinematic footage.
Master the art of balancing shots:
- When shooting in tight spaces or when moving quickly, try to keep your movements slow and controlled.
- If you’re new to gimbals, don’t be discouraged if it takes some time to adjust with practice, you’ll find your footing.
Tips for Smooth Shots:
- Make sure the weight distribution of both you and your camera is evenly balanced. This will help stabilize the gimbal and prevent shaky footage.
- Use a tripod or stabilizer head as a reference point when adjusting your shots. It’s easier said than done, but trust us it makes all the difference!
- Practice in different environments to get familiar with how the gimbal responds to various lighting conditions.
The Zhiyun Crane 3 Gimbal is ideal for weddings and events due to its stability and ease of use, while the DJI OsmiGrip excels at capturing stunning timelapse footage. By following these tips, you’ll be well on your way to creating professional-looking videos with minimal hassle.
In the Field – Tips for Effective Stabilized Shooting in Different Environments
Unlocking Seamless Stabilized Shots: Mastering Camera System Adaptability
When it comes to capturing professional-grade footage, a reliable camera stabilizer system can be the difference between a shaky shot and silky-smooth visuals. But how do you take your stabilized shooting to new heights in diverse environments?
Before we dive into tips for maintaining stabilization in different settings, let’s talk about what makes all the difference: understanding those unpredictable variables.
Outdoor Environments:
Wind gusts above 30 mph can send even the sturdiest equipment rattling. Loose objects on set can be your worst nightmare and not just because they’re distracting from your shot. They could actually damage your gear! So, how do you stay focused and keep that camera steady?
Be aware of wind-driven debris in urban areas.
Secure any loose items around cameras or tripods to prevent them from becoming projectiles.
And what about those unexpected disruptions on location? Even indoors, studio settings can be chaotic. From dodging construction equipment to avoiding low-flying birds, you need a solid plan to keep your camera stable.
Here are some practical tips for maintaining stabilization in these unpredictable environments:
Shooting near large machinery or moving crowds requires precision and quick thinking. Use a tripod or monopod to anchor your camera, then consider investing in an advanced gimbal stabilizer for silky-smooth footage.
Consider using the “Slow Shutter” technique when shooting through moving parts:
- Keep your eyes on the subject.
- Focus on what you’re capturing, not just how fast it’s being moved away from.
Unshakable Confidence – Overcoming Camera Shake on shaky Hands
If you’re looking for smoother footage without breaking the bank or sacrificing mobility, consider investing in handheld stabilizer systems designed specifically for camera shakes. DJI’s OsmiGrip is a popular choice among videographers due to its ergonomic design and compact size. By incorporating this device into your filmmaking workflow, you can capture smooth footage with minimal effort.
When selecting a hand holdable gimbal system, look for features that prioritize ergonomics to reduce fatigue during recording sessions. A good starting point would be the Zhiyun Smooth 4 or similar devices from reputable brands like Moza Airy or FeiLong. These stabilizers can adapt seamlessly to various camera sizes and provide remarkable stability in both horizontal and vertical orientations.
However, you don’t need to invest in expensive gear; lower-cost alternatives like smartphone mounts with built-in levelers or basic handheld gimbal systems can also help mitigate camera shake when shooting at home, outdoors, or on-the-go. The Lupa Labs Stabilizing Gimbal Mount is an affordable option that features a 360-degree rotating ball head for effortless adjustments to match various camera settings.
Many videographers swear by the DJI Osmo Grip for its adjustable arms and compact design. This allows it to seamlessly adapt to different camera setups, ensuring optimal stabilization during filming. The Zhiyun Smooth 4 is also praised for its versatility in accommodating various camera configurations while maintaining remarkable stability.
The key to smoother footage lies not just in the device itself but also how you use it. By investing in a stabilizer and mastering its features, you can achieve professional-grade results even with a limited budget. Consider your filmmaking needs and look for products that balance portability and performance.
When shooting outdoors or at home with an older smartphone, there is no need to invest in expensive camera equipment. However a simple handheld gimbal mount such as Lupa Labs Stabilizing Gimbal Mount can be very useful to reduce shake when you are on location. On another hand if your primary goal is creating high production quality film that would typically require more investment into stabilizers with better features like DJI OsmiGrip or Zhiyun Smooth 4, these devices offer remarkable stabilization during filming and the ability to capture smooth footage even in tight spaces.
When choosing a handheld camera stabilizer, prioritize ergonomic design. Look for products that reduce hand movement during recording sessions and provide adjustable arms for optimal setup flexibility. By doing so, you can minimize fatigue while capturing high-quality content.
By balancing practicality with style, you’ll find the right device to fit your filmmaking needs without breaking the bank or sacrificing mobility. Whether it’s a smartphone mount or a professional-grade stabilizer, the goal is similar: capture smooth footage that leaves viewers engaged and wanting more.
A Perfect Pair – Matching Your Lens to Your Camera’s Capabilities
 Choosing the right camera stabilizer system is crucial for capturing smooth and professional-looking shots. To save time and effort, it’s essential to consider your lens type and capabilities.
When pairing a prime lens with your camera’s capabilities, focus on its focal length – it must work well with the type of shots you’ll be taking. For instance, wide-angle lenses are perfect for landscape or interior photography, lending themselves nicely to shorter stabilizers such as handheld stabilizers. These lenses can handle slight movements and provide an immersive experience.
On the other hand, if your lens comes in a set that includes different focal lengths (e.g., 24mm-70mm), consider getting one lens set that complements each focus length. This will not only improve overall image quality but also make camera handling more manageable. Some sets come with adjustable features like zooming or tilting heads, making it easier to frame your subjects.
When pairing a zoom and fixed-focus lenses, take into account the dynamic range of the former. Wide-angle lens systems have an increased capacity to capture bright areas without losing detail in dark spaces – this makes them well-suited for landscapes with varying light conditions. However, their large size can sometimes be cumbersome when traveling.
Conversely, shorter focal lengths like 50mm or 85mm prime lenses often benefit from larger camera stabilizers like Gimbal cameras due to reduced strain and improved hand holding.
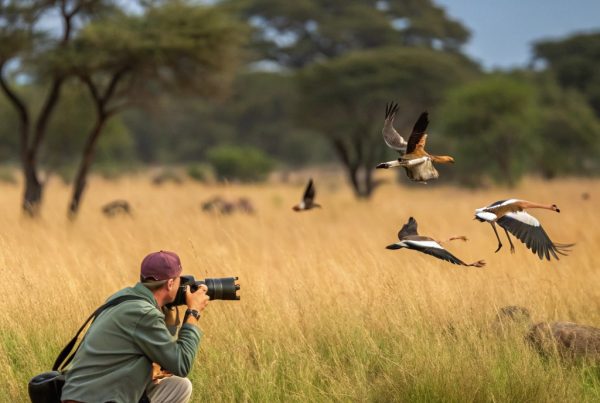
When choosing a lens type that requires more stabilization effort – such as long telephoto shots (200-600 mm range), keep an eye on weight and portability. This is particularly important for photographers who frequently shoot in different environments, such as nature reserves or festivals where mobility matters.
The payoff is worth taking your time for high-quality images without strain or hassle are yours when compatibility reigns.
The Power of Assistants – How AI-Powered Cameras Enhance Stabilization
For filmmakers looking to capture professional-grade video without breaking a sweat, consider ditching traditional handheld stabilizers in favor of AI-powered camera systems. These cameras offer an effortless way to achieve smooth and stable footage with minimal effort.
One of the biggest advantages of these systems is their ease of use. Unlike traditional handheld stabilizers that can be bulky and difficult to maneuver, AI-powered cameras require only a simple attachment or direct mounting onto your camera body. This makes them perfect for those new to using camera stabilizers or looking to upgrade their shot game.
However, AI-powered cameras with built-in stabilization features also offer advanced functionality that’s hard to find on traditional stabilizers alone. These systems can learn your shooting style and adapt automatically, allowing you to capture smooth shots even when moving quickly or making sharp turns. For instance, the Zhiyun Weebill S mini stabilizer has a “predictive” feature that adjusts its movement according to your movements.
Imagine being able to track fast-moving subjects with ease without manual intervention. The Zhiyun Weebill S mini’s predictive feature achieves this by anticipating and adjusting to your every move, ensuring smooth and stable footage even in high-speed sequences or when capturing multiple shots at once.
Another great advantage of AI-powered cameras is their ability to adjust for different situations. The DJI Ronin-S has a “auto-tracking” feature that lets it follow subjects with ease, taking some guesswork out of stabilizing shots. This means you can focus on your craft without worrying about the technical aspects of camera stabilization.
Picture this scenario: You’re filming a fast-paced action sequence or capturing stunning aerial footage. With AI-powered cameras like the DJI Ronin-S, auto-tracking takes care of the heavy lifting, allowing you to concentrate on framing and composition.
Lastly, consider how these systems can enhance your creative vision. The Gitzo TVS-33L is a highly versatile camera rig that can be adjusted to capture unique angles and perspectives that might have been impossible with traditional stabilizers alone. Its adjustable arms allow for smooth panning shots or sweeping motions, giving you the freedom to experiment with new cinematographic techniques.
By incorporating these advanced features and capabilities into your filmmaking workflow, you can capture stunning footage that rivals traditional stabilizers without the hassle. Consider upgrading to an AI-powered camera today and unlock new creative possibilities with smooth, stable shots every time.
From Steady Cam to Stunning Footage – Advanced Stabilized Editing Techniques
Unlocking Stunning Visuals with Handheld Stabilizers: A Beginner’s Guide
When it comes to cinematography, having the right equipment can make all the difference between a shaky and smooth shot. In this guide, we’ll explore two types of handheld stabilizer systems that can elevate your footage from amateurish to professional-grade.
Choosing Your First Handheld Stabilizer System
For beginners looking for flexibility and portability, consider a handheld stabilizer with adjustable arms or handles tailored to fit around your lens and camera body. Some popular options include the DJI RMT-3.0 and the Zhiyun Smooth 4. These systems allow you to customize the fit of your equipment while keeping it stable.
Let’s look at an example: The DJI RMT-3.0 is designed specifically for cinematography, providing a balance that allows for smooth shots from various angles without worrying about your equipment moving during recording sessions. Its design ensures a secure grip on both cameras and lenses, making it ideal for vloggers or content creators.
The Difference between Manual Handheld Stabilizers and Gimbals with Motors
Manual handheld stabilizers are great for casual users who want to capture simple shots without the added cost of motors. These systems rely on your hand placement to maintain balance, which can be effective in low-stakes environments. However, they require more manual effort from you and can be tiring during long shoots.
In contrast, gimbals with motors take camera stabilization to a new level. These advanced systems actively counterbalance the weight of your camera and lens combination, providing smoother footage even when moving or capturing dynamic movements. For serious cinematographers who need precise control in complex environments, these motorized stabilizers are the way to go.
The Freefly MoVI System is an excellent choice for those seeking high-quality shots with precision. Its advanced algorithms ensure a stable frame rate and reduced camera shake, making it ideal for commercial shoots or professional productions.
Bringing it all Together: Advanced Editing Techniques
Once you’ve chosen your handheld stabilizer system, the next step is to refine your footage using advanced editing techniques. By combining seamless footage from stabilized cameras with sophisticated post-production methods, you’ll be able to create stunning visuals that captivate your audience.
To take advantage of this technique, consider learning basic video editing software like Adobe Premiere Pro or Final Cut Pro X. Experimenting with color grading and chroma keying can add depth to your videos while creating a consistent visual identity for your brand.
Some popular free tutorials include “10-minute intro to color correction” by YouTube’s Film Riot channel and a quick beginners guide on the Blender Cycles software.
Additional tips:
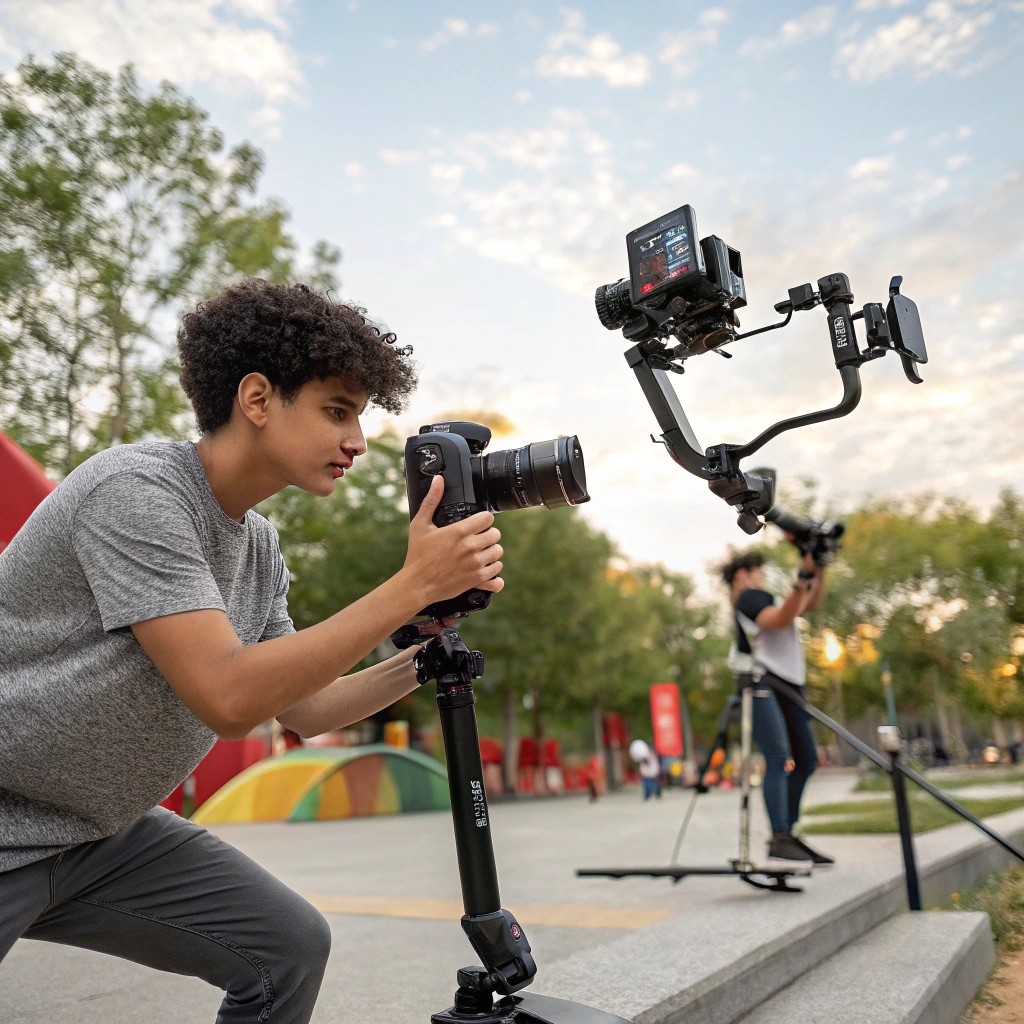
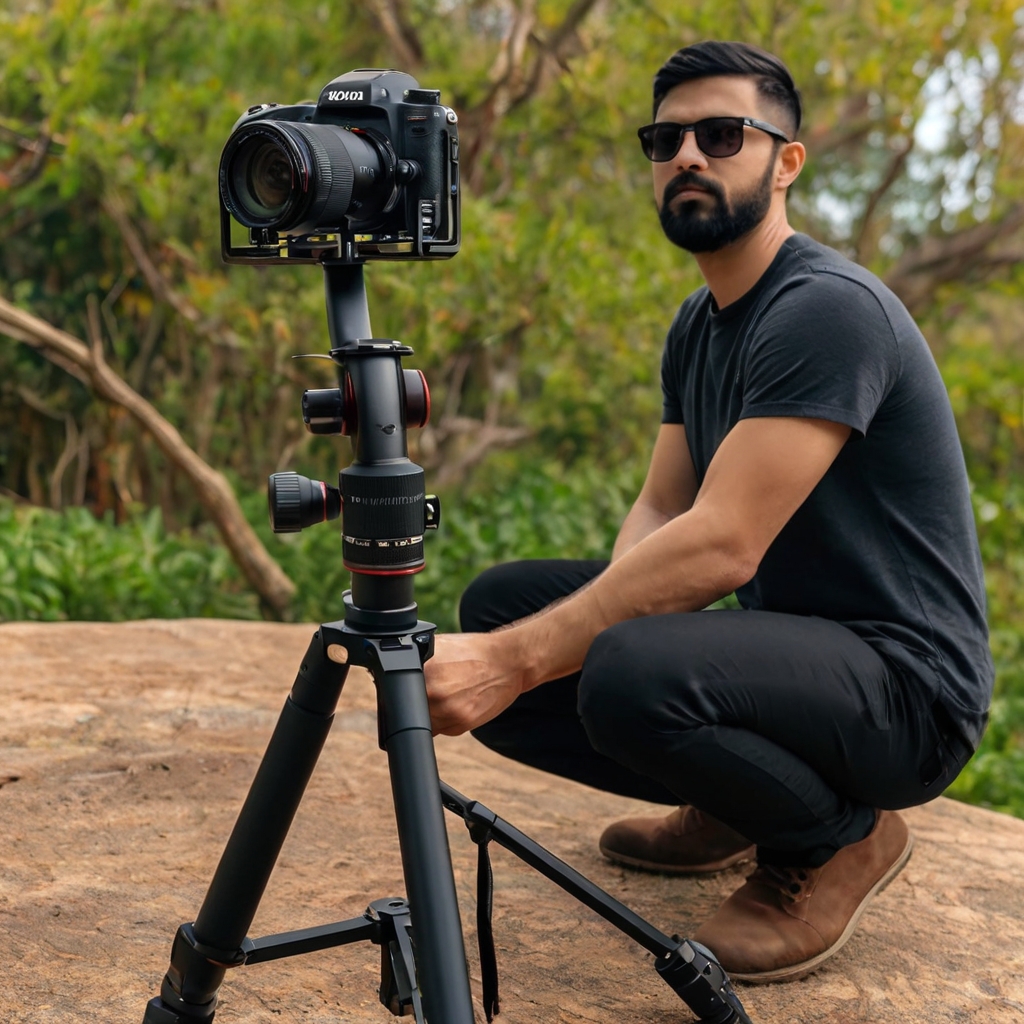
- Use images that demonstrate handheld stabilizer designs or video editing workflows.
- Include subheadings within each main point section to break up content and make navigation easier.
Low Light, No Problem! Maximizing Image Quality with Stabilizer Systems
 In low-light situations, camera stabilization makes all the difference. A good system reduces unwanted camera shake by up to 80%, resulting in sharper images and more professional-looking footage. Let’s explore some popular beginner-friendly options.
When shooting with a handheld gimbal in tight spaces or during fast-paced action shots, look for models like DJI’s Ronin-S. This compact design allows for precise control and a robust build quality that can withstand the rigors of frequent travel. For example, when capturing concert footage at night or recording sports events under dim lighting conditions, you’ll appreciate the silky-smooth footage this gimbal provides.
When choosing a handheld gimbal, consider weight capacity: if you’re using larger lenses or heavier cameras, look for models with higher load limits. Also, prioritize battery life to minimize downtime during long shoots. DJI’s G4 and Zhiyun Weebill-S offer extended runtime and adjustable angles for improved flexibility.
Another essential aspect is camera stabilizer compatibility since some older cameras without built-in stabilization require external options attached via the tripod thread. The DJI G3 can be a great option, offering adjustability to pan or tilt your view. Research and compare features like these when selecting an external system that caters to your specific needs.
Some popular camera stabilizer brands include DJI, Zhiyun, GimbalPro, FeiyuTech, and 1/4″ plates for rigging. Each brand has its strengths and weaknesses; research to find the best fit for your budget-friendly requirements. When choosing a system that will help you capture seamless footage in low-light conditions or high-action sequences, experiment with different settings to unlock new creative possibilities!
When working under dim lighting, consider how stabilizers can enhance your photography: Do you focus on sharp details or capturing smooth motion? Research and master the unique features of camera stabilization systems like motorized pan/tilt heads.
Unlocking Seamless Shots: Top Recommendations for Beginner-Friendly Camera Stabilizer Systems
Expert Tips for Adapting Your Shot Style to Different Genres and Subjects
Great results are only achievable when you have the right tools. A good camera stabilizer system can make all the difference in your cinematography.
The ability to adapt a shot style to different genres and subjects is crucial for success in filmmaking. When using beginner-friendly camera stabilizer systems, it becomes easier to create smooth and stable footage that enhances overall visual quality. Moreover, this flexibility enables photographers to capture more dynamic scenes without needing extensive post-production work or excessive editing.
Investing in beginner-friendly camera stabilizers can pay off by saving time during the production process and resulting in higher-quality visuals for your audience.
Take action today to revolutionize your cinematography skills with top-notch equipment that will make all the difference.