Are you tired of missing out on capturing that perfect shot, where your subject is frozen in time and your camera just can’t get it right?
You’ve invested in the best equipment, practiced your technique to perfection…but there’s one crucial element holding you back from achieving stunning wildlife photography.
The secret to unlocking incredible shots lies not with faster shutter speeds or better lenses. It’s actually about choosing the wrong tripod for your needs and sacrificing image quality as a result.
With the right stabilizer, your photos will be sharper, more detailed and free of blur – allowing you to showcase those amazing wildlife moments like never before.
In this post, we’ll explore some of the best tripods on the market today that will change how you capture your wildest animal shots.
What to Look for in a Wildlife Stabilizer
When it comes to capturing stunning wildlife photos, a good tripod is essential. But with so many tripods and stabilizers on the market, how can you choose the right one for your needs?
First things first, let’s talk about what makes a great stabilizer. It all starts with stability and durability. You want a tripod that can hold its ground through thick and thin, whether it’s in harsh weather conditions or in extreme cold.
Look for tripods made from sturdy materials such as aluminum or carbon fiber. These will provide the necessary strength to keep your camera steady even when you’re taking shots of animals that are known to move quickly.
Another key thing to consider is the weight capacity. You don’t want a tripod that’s too light, as it may not be able to hold heavy equipment or in this case wildlife cameras with lenses weighing many pounds and can easily tip over.
Also take note of the base size and adjustability. A larger base provides better stability, but also takes up more space which could make it harder to move around while taking photos. Look for tripods that have an adjustable height setting so you can adapt it to different situations. In addition, consider whether or not the tripod comes with features such as built-in leveling systems or anti-shake technology. These features will allow you to get sharper images and avoid blurry photos caused by camera shake.
Lastly, think about what type of wildlife photography you’ll be doing most often. If your specialty is taking pictures in tight spaces, look for a lightweight tripod that can easily move around with minimal effort.
The Impact of Motion on Wildlife Photos
For most photographers, capturing sharp images of moving subjects is a challenge. But when done correctly, it can lead to stunning results – and even make all the difference between a good shot and an amazing one.
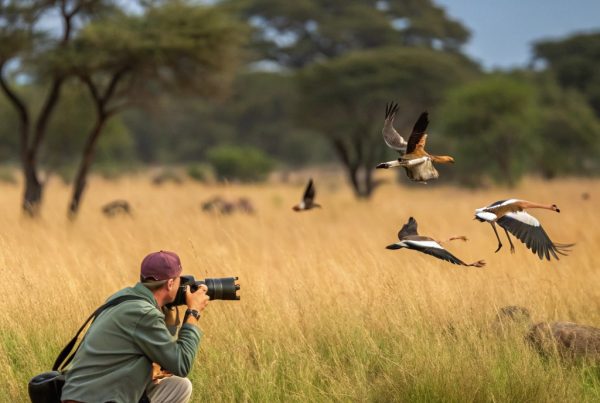
In wildlife photography, motion blur can be both creative and crippling. A well-placed stabilizer or tripod design can separate artistry from blurriness, making it essential for capturing that perfect shot. When shooting birds in flight, for example, even slight movement will ruin your photo – an ultra-stable tripod is crucial in these situations.
But what about when wildlife is moving quickly and unpredictably? During migration patterns or hunting behaviors, using a longer exposure time with slower shutter speeds can help capture the fluidity of their movements. However, this technique requires careful planning to avoid blur. For instance, consider shooting during the golden hour when the light is softer – it will add depth and interest to your images without adding motion blur.
In bright sunlight, contrast between light and dark areas becomes exaggerated. In such conditions, using a longer exposure time with slower shutter speeds can actually help capture those tiny details that might otherwise be lost in darkness or blown out by intense light. This is particularly useful for capturing birds at dawn or dusk when the sun’s rays create sharp shadows.
For photographers trying to master wildlife photography, understanding how much motion can occur at any time is crucial – it determines what makes a subject’s essence stand out.
**Key Strategies for Managing Motion Blur:
- When shooting in bright sunlight, using slower shutter speeds (around 1/1000th of a second) and longer exposure times to capture more detail will work better than trying to combat the brightness.
- In situations where motion blur is undesirable – such as capturing birds in flight – ultra-stable tripods are essential for sharp images. However, if you’re photographing wildlife that’s moving quickly or unpredictably, using slower shutter speeds can create stunning results.
- To avoid blurriness and maintain a clear image of the subject’s essence, it’s all about balance between artistry and technical skill.
Actionable Tips:
1 Shoot during overcast conditions to prevent motion blur from ruining your photos. If you’re still unsure how to handle different light sources – use online tutorials or take photography courses in bright sunlight for better understanding
2 When shooting birds in flight, invest in ultra-stable tripods and consider investing in a ballhead with built-in quick-release plates.
3 For photographing wildlife that’s moving quickly and unpredictably, practice using slower shutter speeds during the golden hour when possible.
Using the Right Lens Angle For Great Shots
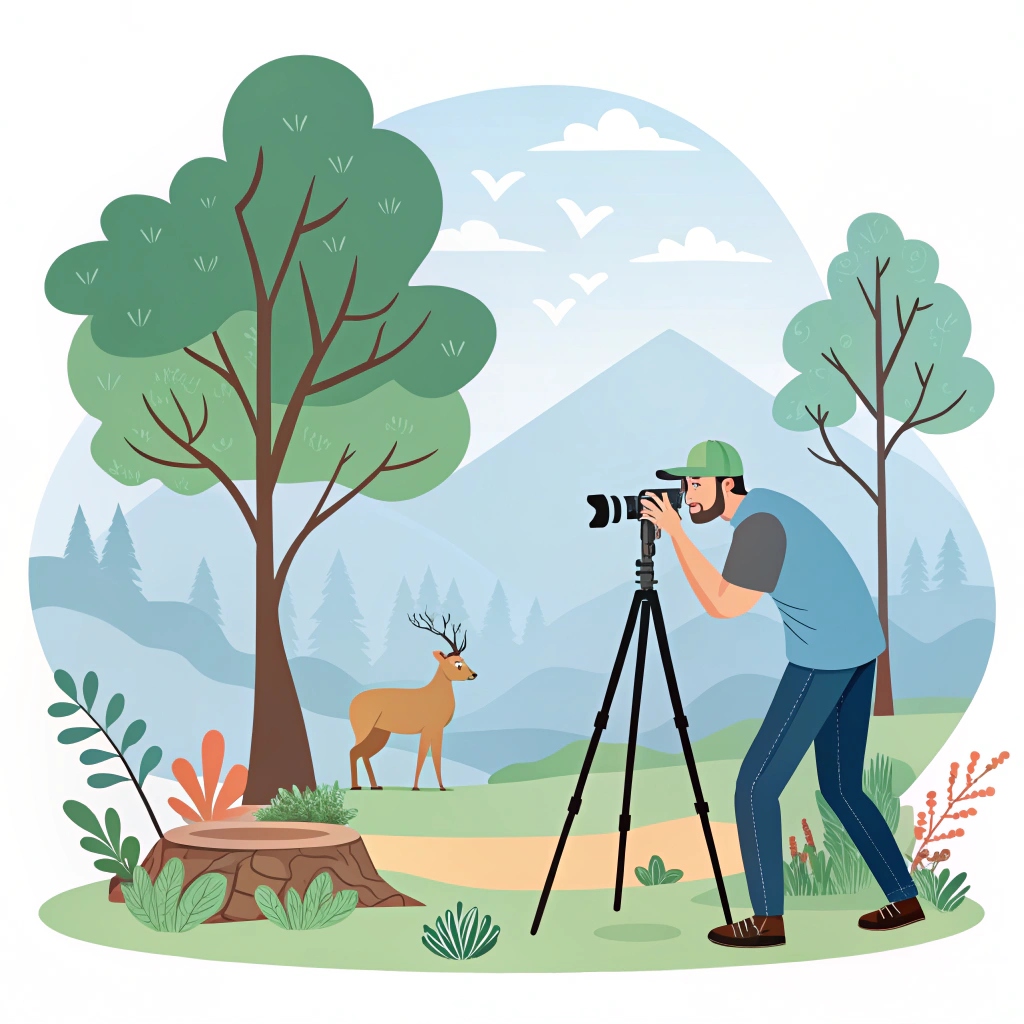
To elevate your wildlife photography game, experiment with angles beyond the standard tripod height. We’ll dive into three unique perspectives to capture stunning images of animals from eye-level, above-eye level, and below.
Eye-Level Angles: Shooting from an animal’s perspective helps create a sense of intimacy. Try stabilizing your tripod at their level when photographing birds in flight or capturing lion crouching down to hunt. This approach can reveal agility and speed with crisp focus. Adjust the shutter speed according to the action, allowing you to freeze movement without blur.
When shooting above eye-level, make sure to adjust aperture and shutter speed accordingly for optimal exposure. Use this angle to capture detailed textures in your wildlife photographs by angling downward at a 45-degree tilt, emphasizing details like fur patterns or feather structures. This perspective also allows the animal’s habitat and environment to recede into the distance, drawing attention back onto the subject.
Shooting from above eye-level can be particularly useful when photographing birds in flight or displaying high-speed movements. Keep your lens clean and use a fast shutter speed to capture those fleeting moments without blurring.
When getting low, experiment with shallow depth of field by using a wide-angle lens at ground level. This approach creates an immersive atmosphere, drawing the viewer into the scene alongside the animal. Shooting from above can have a similar effect when capturing birds in flight or displaying their elaborate courtships and mating behaviors.
Incorporating diverse angles will not only elevate your photos but also tell compelling stories about animals’ behavior and environment without compromising its natural habitat.
How Much Is Too Much – Balancing Creativity With Realism
Capturing stunning wildlife photos requires striking a balance between artistic expression and realistic representation, helping to truly showcase the majesty of wildlife in their natural habitat.
The problem is that finding that balance can be tricky. On one hand, too much creative license can make your images look staged or unnatural – think overly edited landscapes with unrealistic skies or comically exaggerated textures. Editing tricks like adding a sky with an impossible gradient or removing distracting elements through excessive cloning could give away the fact that it’s not entirely real.
On the other hand, if your images lack creativity and imagination, they might lose viewer engagement. Without any visual interest, viewers may quickly move on to another post, missing out on learning something new about wildlife behavior or appreciating their majesty. For example, a photo of an empty plain landscape with no context could lead viewers to misinterpret the subject’s habitat.
So how do you strike this balance? A good rule of thumb is finding that balance through practice and experimentation with different techniques. This might mean trying out various lighting setups for your camera or editing tools like Curves adjustments, which can make a huge difference in natural images. Alternatively, using a technique such as the ‘split-toning’ effect to add some contrast to an otherwise mundane landscape. Additionally, you could try playing around with HDR imaging techniques and even consider getting creative with post-processing methods that don’t stray too far from reality. Some photographers use these tools to create surreal scenes or overly dramatic images, which may not be what the viewer is looking for when they are trying to learn wildlife photography. By striking a balance between artistic expression and realism through experimentation and practice, you can convey your message effectively without resorting to obvious editing tricks that take away from reality.
In short, don’t overdo it with creative license; instead of taking a few snapshots in one pose or style all day long – remember to blend the beauty of wildlife into their natural habitats.
Captivating Wildlife Images Require Balance in Light and Shadow
Great images require balance, so don’t get caught off guard by a flash that’s out of control.
Light and shadow are the building blocks of any stunning wildlife photo. If your image lacks depth and interest, it may be because you’re not using light to its fullest potential. The right lighting can make all the difference in capturing images that will leave viewers breathless.
Using harsh direct sunlight or a single artificial light source is rarely effective for most photography subjects as it only highlights shadows.
The balance between warm golden tones and cooler grays often makes photos look flat if not balanced properly, giving you an idea of how different lighting can make all the difference. Experimenting with various lighting options will help bring your photographs to life.
Taking a shot that is overly bright or dull may result in capturing wildlife images that lack depth.
Now it’s time to get out there and test your limits; take risks on new creative angles, experiment with different light sources, and practice balancing contrasting tones.